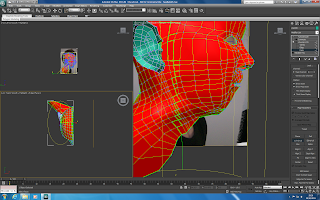
Next, I added a checkered material to the model, bringing up material editor and finding the checkered material. I increased the checker pattern and applied it to the model. This will enable me to see where the creases are within the model.
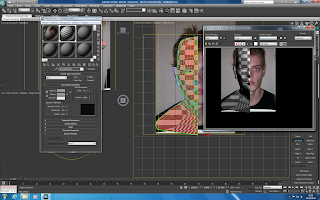
The next step was to click on edit parameters. This is where the work will be done in UVW mapping. This shows where there are errors in the model and they can displayed by choosing select, show inverted faces. It is then possible to adjust these faces until they are correct. It is important that all the quads are pulled out to be as quad like as possible.
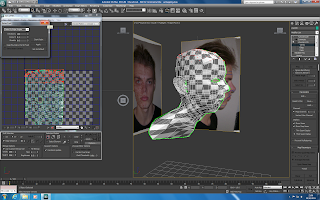
The relax tool can be used to push vertices apart. I found it useful at times but it could cause more messy results.
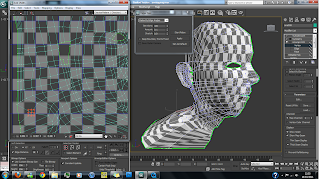
Here is the results of the head modification.
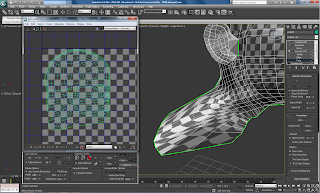
After this was done it was time to concentrate on the ear. To do this, I went back to paint spray mode and selected the polys that I hadn't chosen previously, the ear. This time I didn't use a cylindrical Gizzmo, I used Planar and Pelt. This wrapped around the ear nicely. In pelt mode you can use the pelt and relax functions to change the vertices. When the ear first appears it is way too big, so it needs to be shrunk down. Once the overlapping and inverted faces are removed it is time to move onto the next stage of the process.
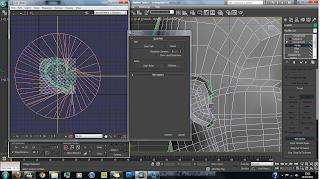
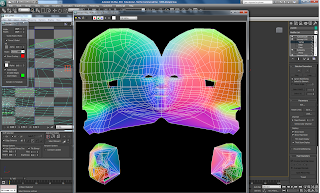
Going back into edit mode we see the results of the modifications that I've made. I move the ear down low into the bottom left hand corner as the ear will be textured separately. Now it is time to add another unwrap UVW modifier this time on top of symmetry. Now both sides of the head will appear in edit mode. Selecting the head and making sure the right hand side is now selected, mirror the image and pull it across to the right hand side. Doing the same with the ear we are left with the below image.
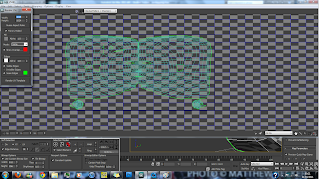
Next, the vertices along the seam need to be welded together. This can be done easily by highlighting the two vertices and pressing control w.
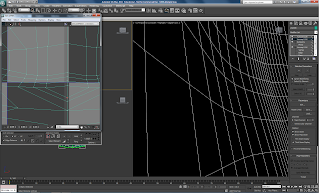
After rendering the UV map in normal mode we are left with the below image. I will now be able to save the image and start texturing in photoshop.
No comments:
Post a Comment