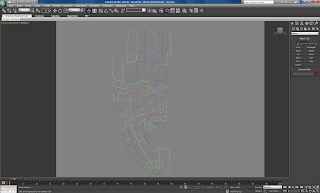
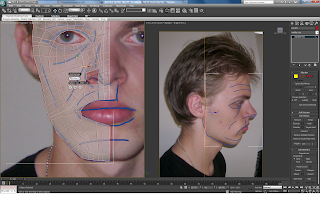
When selecting the line tool there were some settings to change to make it easier to use for this model. The initial and drag type must both be set to corner. Also the snaps toggle is best set to be on. This means the program will automatically find the nearest corner when modelling. One mistake I made when tracing the face was not closing each individual spline. This causes huge problems later on, so it is vital that every individual square has it's spline closed. This means every corner must be clicked on until a box comes up saying close spline?
Here is what my face looked like after tracing.

After all of the lines were traced, it was time to convert one of the squares to an editable poly. Then I used the attach tool to connect it to all of the other lines in the shape. This resulted in all of the lines being connected together for further modelling.

After this, the weld tool must be used to connect the entire shape together. This means that when a vertex is moved, it remains attached to the rest of the shape.
No comments:
Post a Comment