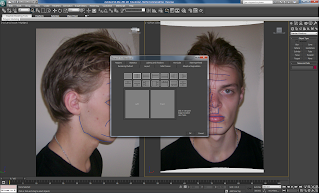
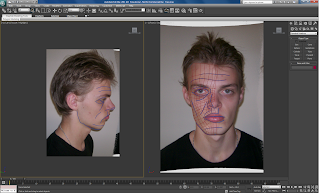
Firstly I created a plane and uploaded the PSD of my alligned photo into material editor. I then went to modifiers and chose 'UVW Mapping'. From here I was able to allign the front photo of my face and then rotate the image, causing a second panel to be created. After alligning this up, I was left with the plane set up perfectly for modelling.

I then changed the workspace layout, configuring the viewport to leave me with just two workspace sections, front and left.

This then left me with my workspace lined up like this.

No comments:
Post a Comment