This week we've been working on creating any little bits that were missing for the model of the Guildhall. These were all relatively small, but not insignificant enough to be left out altogether. I created a few items including a toaster, a mug, a light switch and a plug socket. These can all be duplicated around the building.
While creating these objects I started to use the object isolation mode (which remarkably I haven't used before!)
Toaster: To start, I created a box. After converting to editable poly I chamfered the four edges like I did with the pc screen last week.
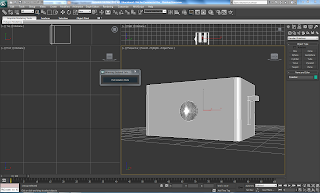
The key to the toaster was the slots in the top for the toast. To do this I used proboolean. After creating two boxes that will provide the cut out for the slots I started picking my objects. I was left with two slots in the top of the toaster.
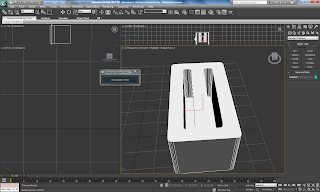
After this I created the little dial on the front, using a cylinder and bevel. This resulted in a cone like shape that looks like a dial.
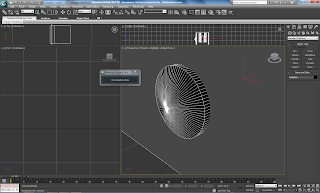
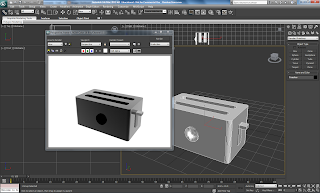
The next thing to do was to create a lever on the side. To do this I created a simple box and extruded out the back. I then extruded out the new created poly as well. After selecting a shiny raytrace material the toaster was complete.
Next up was a cup. This was very simple. I created a cylinder firstly and used inset to create a smaller poly in the middle. Next I extruded this poly inwards towards the bottom of the cup. To create the handle I extruded out three panels from the side. After adjusting the vertices I was able to extrude again downwards.
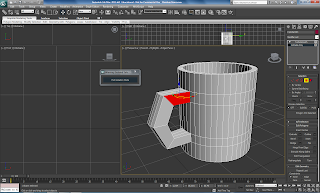
I was then left with vertices that needed to be connected together. I then used another tool that I haven't used before, target weld. This is far better than weld, you are able to select the two vertices you want to connect and max does it for you automatically.
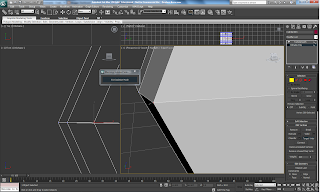
After adding a turbosmooth modifier and a white material, the cup was complete.
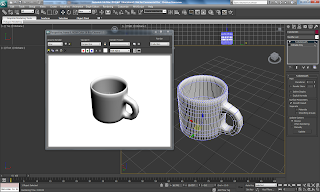
My next model was a light switch. To do this I firstly created a box. I then used inset to create a smaller poly in the middle. This would form the switch. After extruding this out slightly, I used the detach tool. This disconnects the vertices and means the poly becomes a seperate object, I then used rotate to put the switch at an off position, and reconnected it using attach.
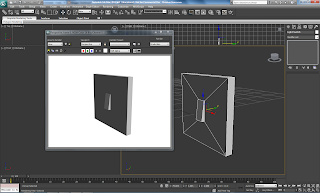
The final model I created was a plug socket. To do this I used the same method as before with the light switch. I instead created two on and off switches. I then created three small boxes and arranged them like plug pins. After duplicating these to the other side of the plug I chose proboolean and selected all of the boxes. I was then left with my plug socket.

No comments:
Post a Comment